So in the previous tutorial, we have learnt to remove an app from Windows start menu. In some cases, some of us would hide it for certain reason. Maybe they don't want to make it easily accessible. Maybe they want to hide it from other user who are not
that expert in computer. Maybe they are making tutorial video and want to hide some apps and softwares from his or her viewers. So it can be anything and that we aren't concerned of anyway.
Alright so after the purpose of hiding the app is completed, how we will bring it back? That is what we are gonna talk about today. So yes! You are watching iMiMofficial, and today's video is about how to bring back hidden or removed app from Windows start menu. So without wasting further time. Lets begin.
So whats happens is when we remove the app's shortcut from the file location, it doesn't uninstall the app. It just removes the shortcut from being visible over that start menu. The app is still installed and can easily be accessed by a search. So let's search it.
So lets go to the first step of how to unhide or bring back apps on Windows 11 start menu.
Step 1: To hide an app from Start Menu’s list of apps without uninstalling it, first go to Start Menu.
Step 2: You will see a search bar. Type the name of the app.
Step 3: Right click on it as you did previously.
Step 4: Now, Copy it or cut it and then paste it the Start Menu folder address.
Step 5: That’s it! Now check it on your start menu again.
Yes! You just brought it back. Well done.
In case you got stuck in step 3 or you can't find the app in search results then don't worry. All you have to do is to follow the below steps:
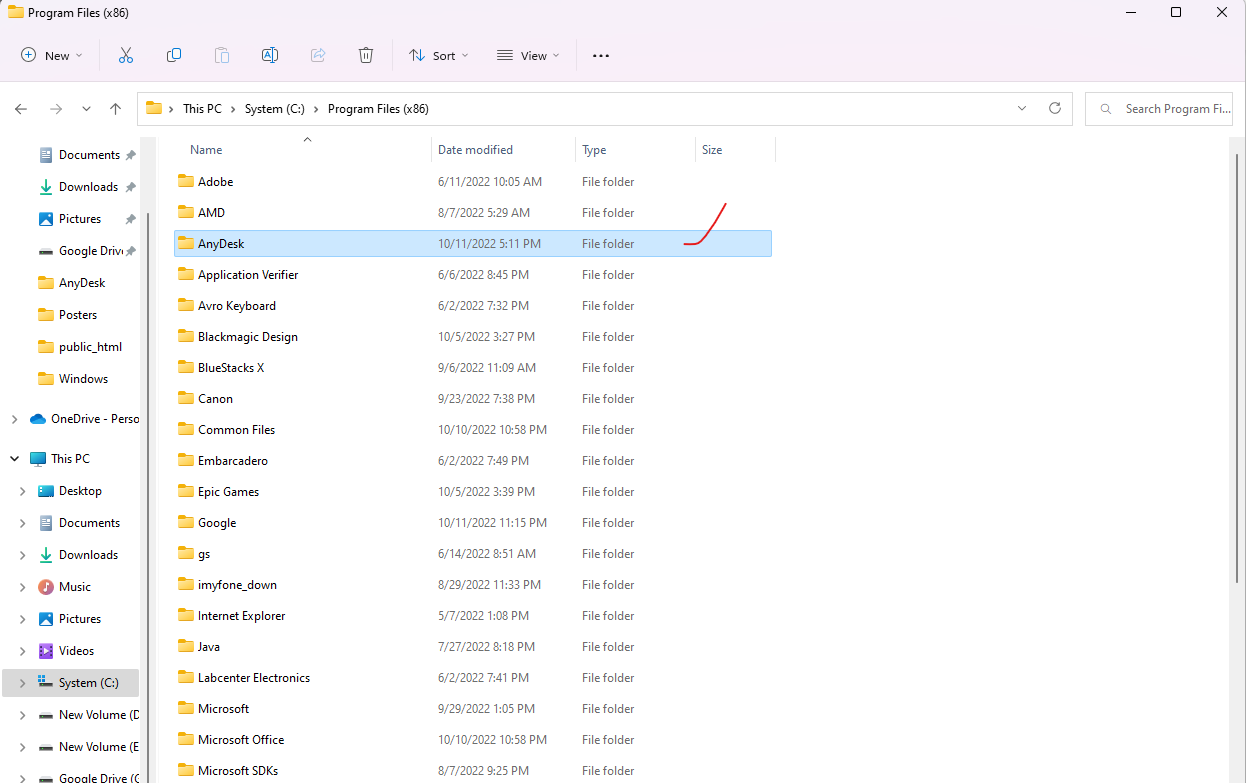
Step 1: Open Windows File Explorer and go to your C drive, where all the apps and system softwares and files are kept.
Step 2: Find Program Files (x86) folder there and open the folder.
Step 3: Look for the desired app or which you want to create a shortcut for. For this example, we will choose AnyDesk.
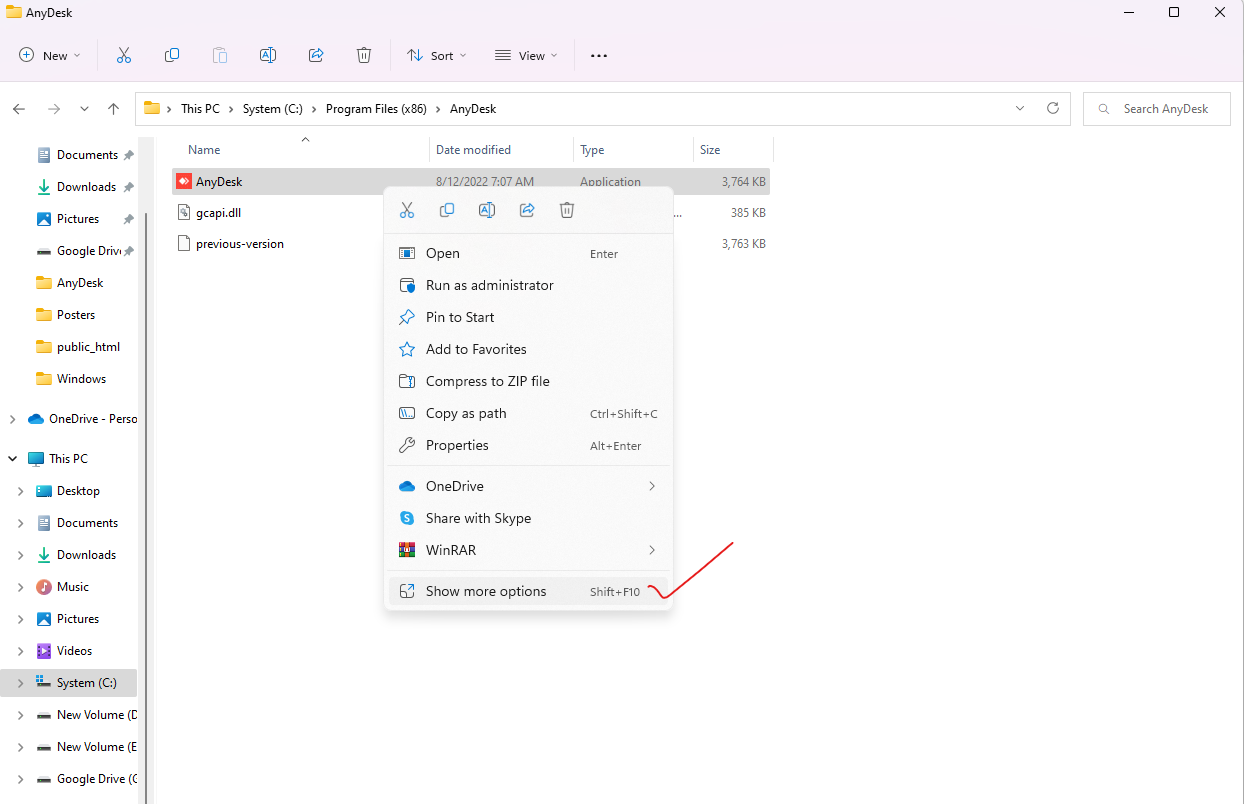
Step 4: Right-click on it and click on create a shortcut option. If you can find the options in the updated version of Windows, click on See more options and you will get it.
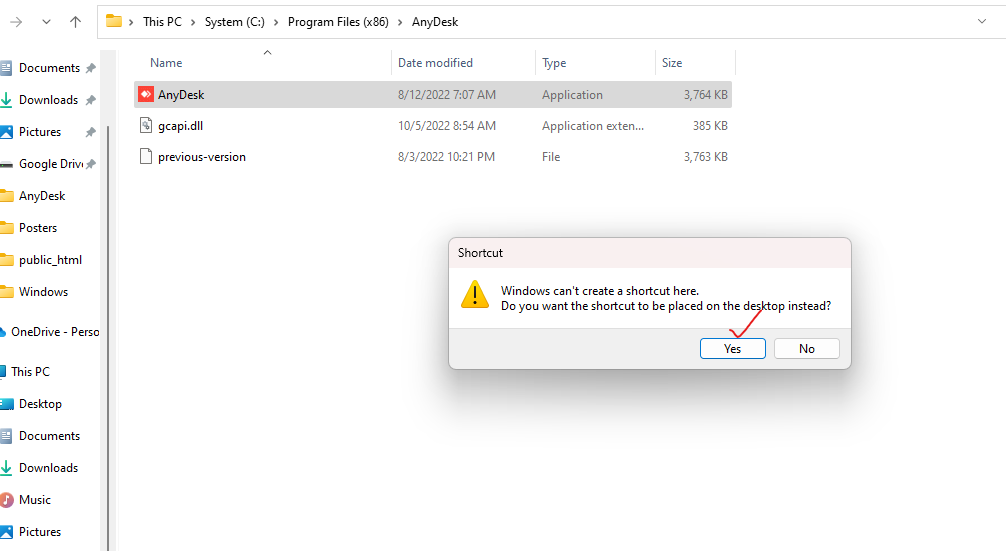
Step 5: It may show you a prompt asking you that it will create a shortcut in desktop. Just allow it. Click "Yes".
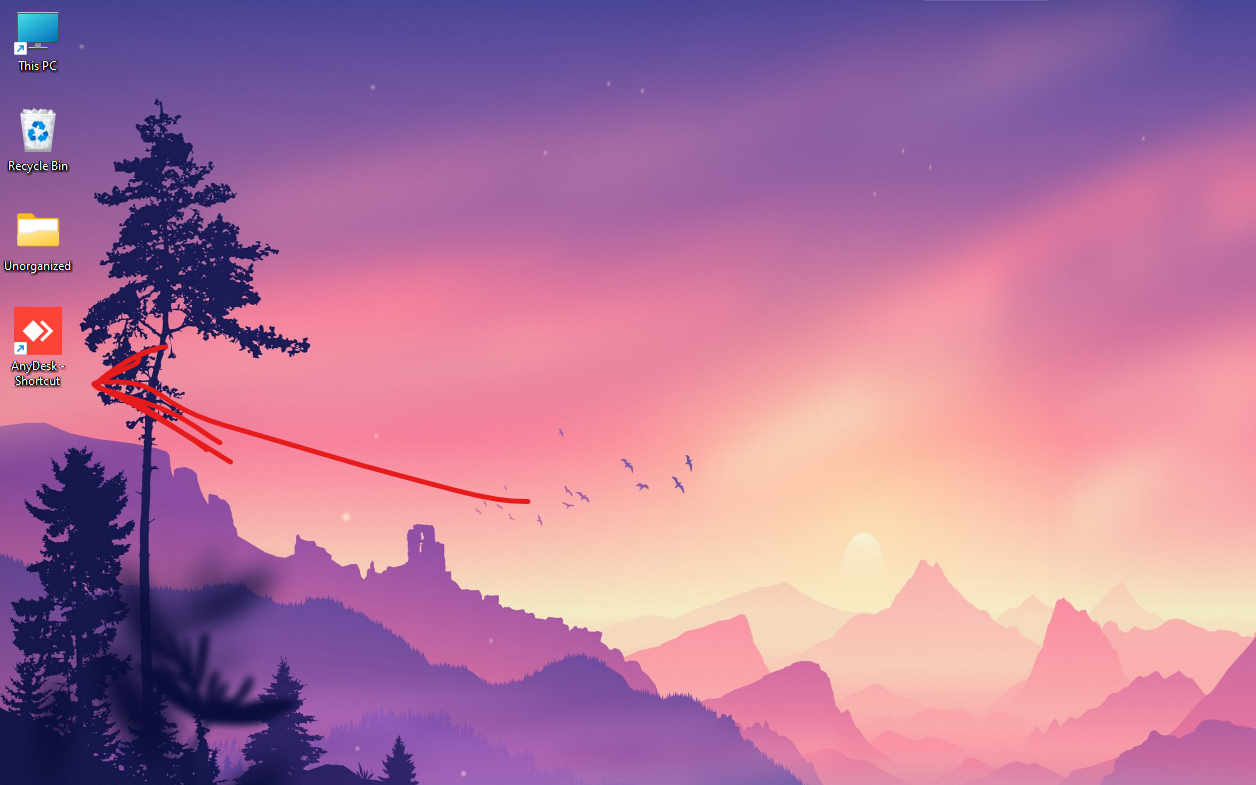
Step 6: Yeah! You just created the shortcut. Copy or cut the shortcut from your desktop.
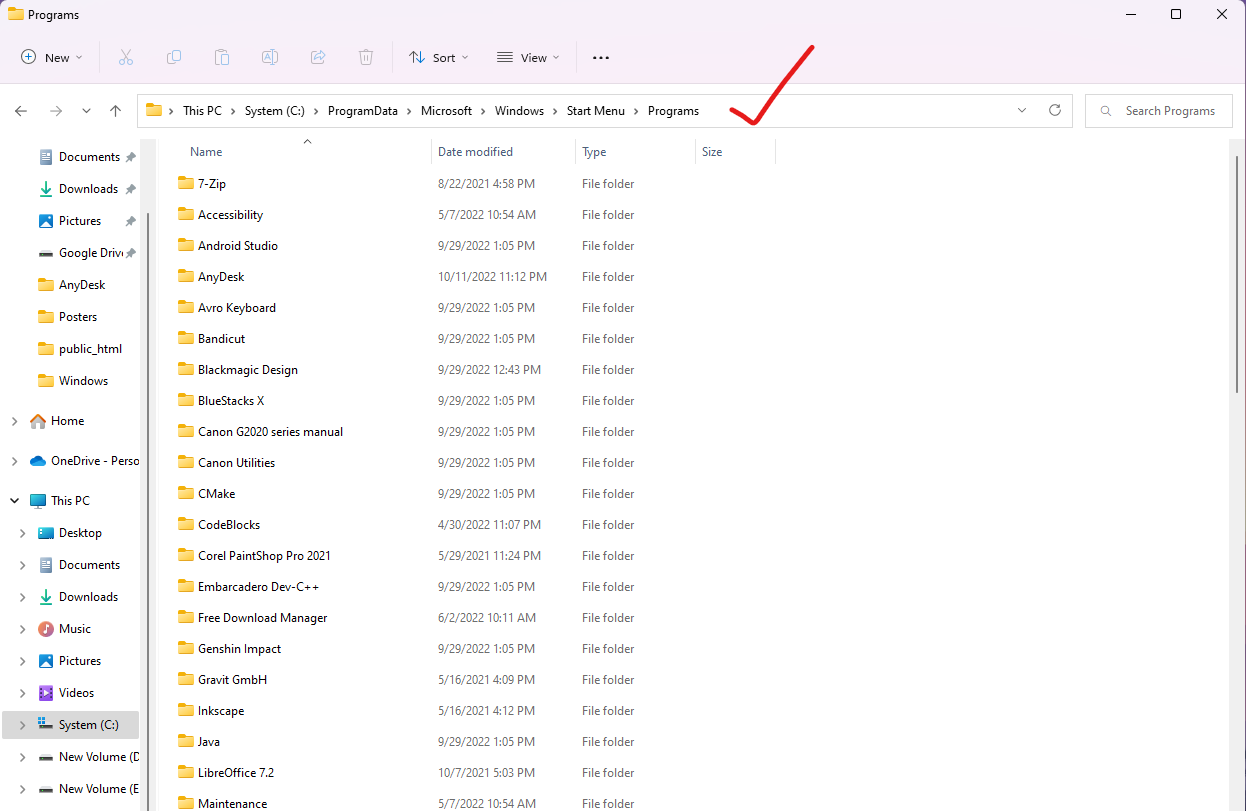
Step 7: Paste the shortcut in this location C:\ProgramData\Microsoft\Windows\Start Menu\Programs
If it was inside a folder then look for the folder and then paste the shortcut to that folder.
Step 8: Now check your Windows 11 Start Menu. You did it. You can rename the shortcut also to make it as it was previously.
So that's all for today. Hope you enjoyed and learned something from it. If you do so please give it a like, write your query and feedback in the comment section. Subscribe to this channel so that I will see you in the next tutorial. Till then stay happy,
stay blessed.
Do you know any other way to do it? Share it with us in the comment section. We would love to hear from you.


Write A Comment:
Recent Comments: